Record Video From Mac App
That means your voiceover, background music, even some funny or emotional sound effects can be added to a video clip simultaneously with one click of the button. Five Best audio trimming tools you can chooseMp3splt(Mac) is one of the best audio splitter software available. Download a free trial version to try it now:Below is a brief video introduction to this amazing program. 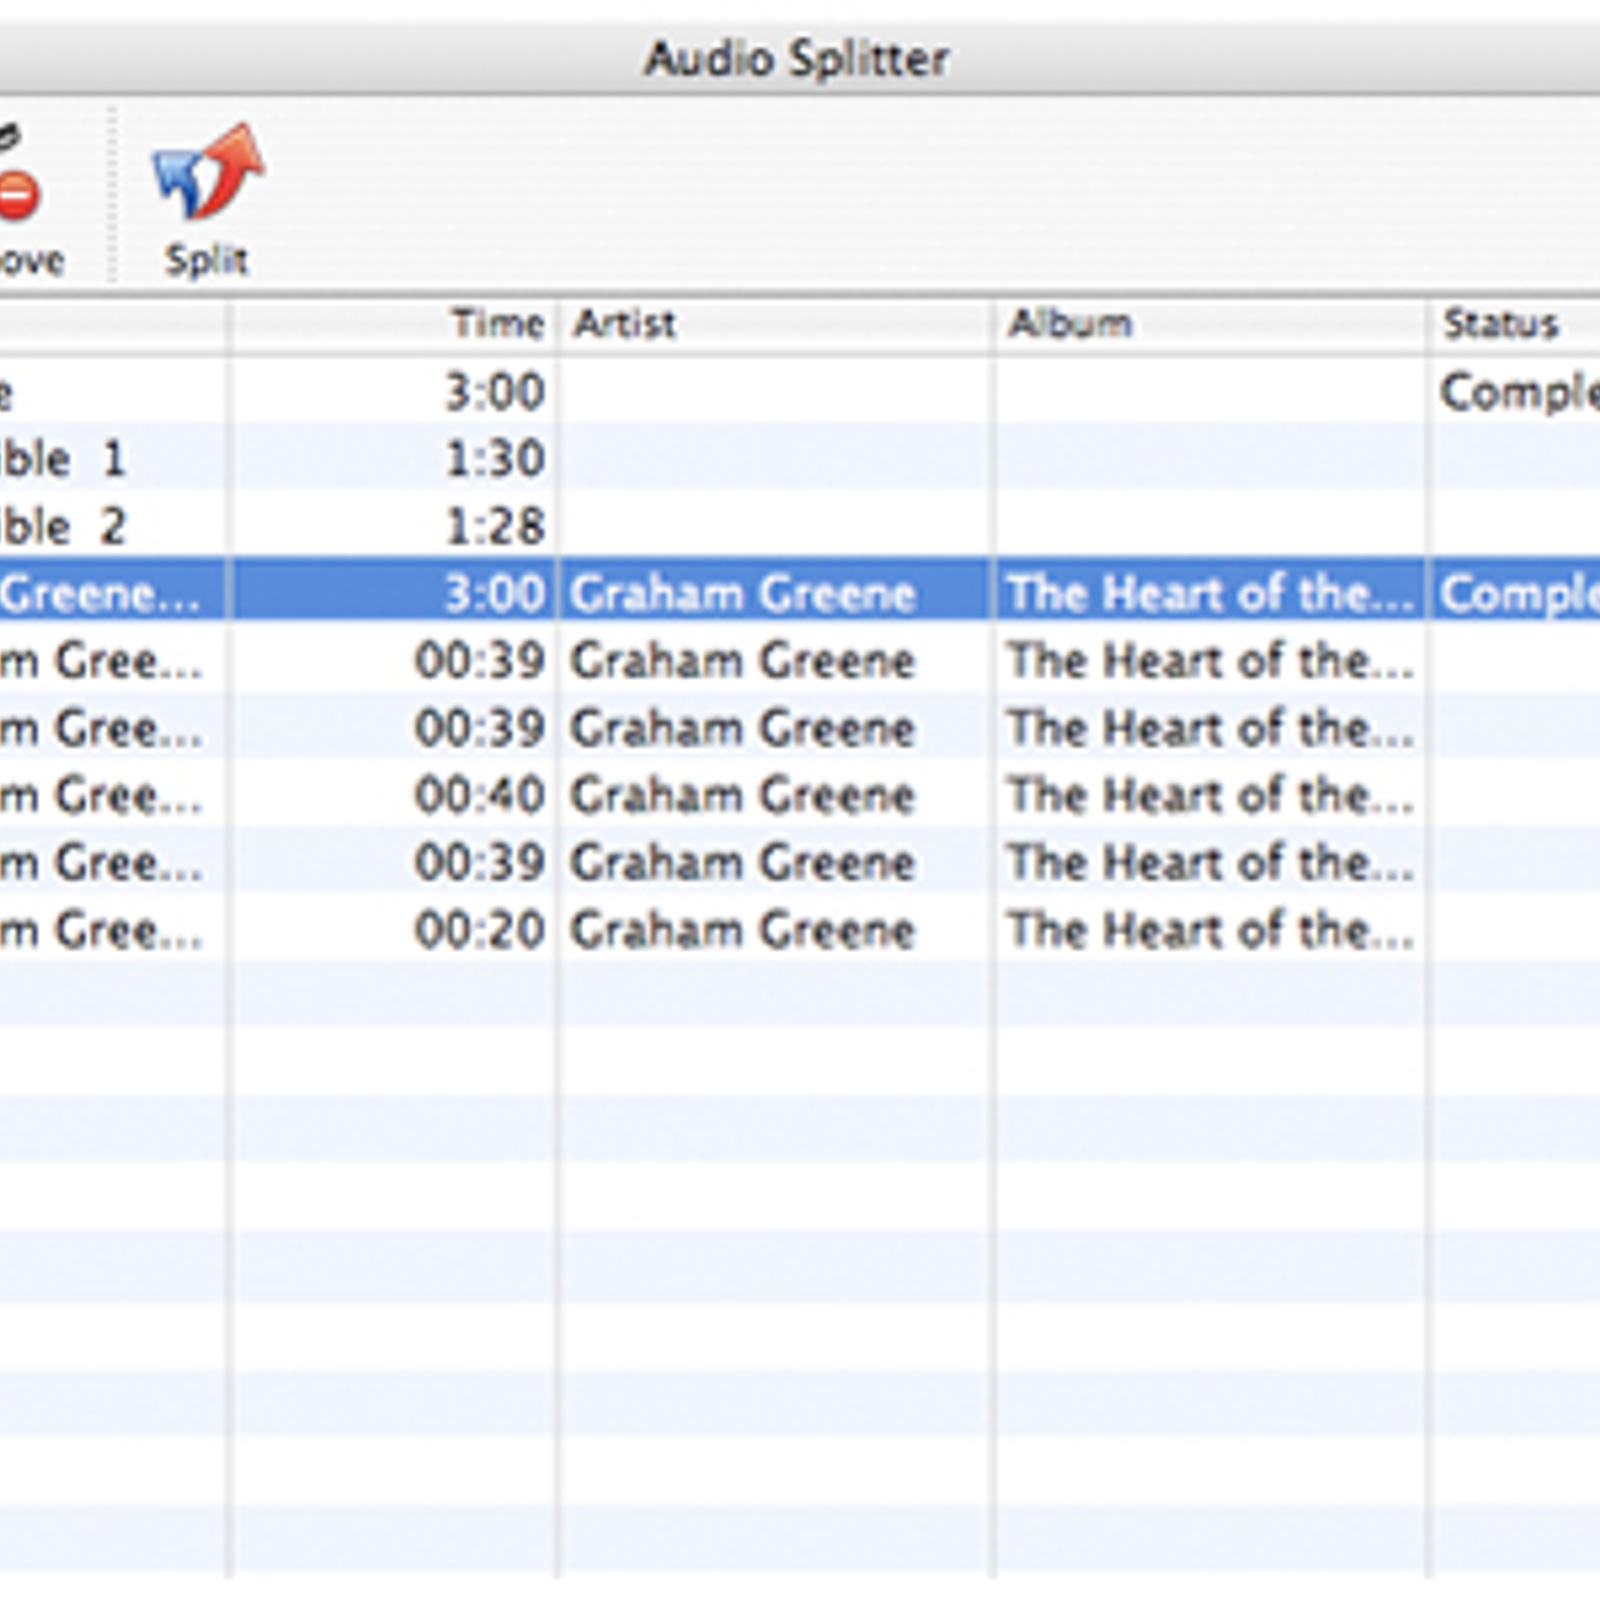
- Record Video From Mac App Iphone
- Record Video On Mac Screen
- Record Video From Mac App Download
- Screen Recording App For Mac
Aug 31, 2018 A Mac app like IM+ can be used to conveniently post your video updates to your Instagram feed right from your laptop. If you record Facebook video or simply want to save videos from Facebook to your device, Elmedia Player would be the right tool to use. Mar 07, 2019 This will work in Chrome or any other web browser, including Safari. In fact, it’ll work in any application on your Mac. Bring it up with Command+Shift+5, select the area or app you want to record, and switch to record mode by clicking “Record Selected Portion” on the right of the menu. Click the record button to start capturing a video.
Photo Booth User Guide
You can take a single photo or a group of four photos, or record a video using your computer’s built-in camera or an external video camera connected to your Mac.
Take a photo
If you’re using an external video camera, make sure it’s connected to your computer and turned on.
In the Photo Booth app on your Mac, if you see the View Photo Preview button or the View Video Preview button , click it to see the Take Photo button or the Record Video button .
Use the buttons in the bottom left to choose whether to take a sequence of four photos (called a 4-up photo) or a single photo.
Click the Take Photo button .
Record a video
If you’re using an external video camera, make sure it’s connected to your computer and turned on.
In the Photo Booth app on your Mac, if you see the View Photo Preview button or the View Video Preview button , click it to see the Take Photo button or the Record Video button .
Click the Video button in the bottom left.
Click the Record Video button . Click the Stop button when you finish recording.
Turn off the countdown or flash for photos

When you take a photo, there’s a three-second countdown before the photo is taken. Your screen flashes when the photo is taken. Dji assistant for mavic pro download.
In the Photo Booth app on your Mac, do any of the following:
Turn off the countdown: Hold down the Option key while clicking the Take Photo button .
Turn off the flash: Hold down the Shift key while clicking the Take Photo button .
Change the flash setting: Choose Camera > Enable Screen Flash.
Turn off both the countdown and the flash: Press and hold the Option and Shift keys while you click the Take Photo button .
Record Video From Mac App Iphone
Choose a screen size
When taking photos or recording a video in PhotoBooth, you can adjust the window size to either full screen to use your entire computer screen, or Split View if you want to work in another app at the same time.
In the Photo Booth app on your Mac, do one of the following:
Use Photo Booth in full screen: Move the pointer to the green button in the top-left corner of the Photo Booth window, then choose Enter Full Screen from the menu that appears, or click the button . To leave the full-screen view, move the pointer to the green button again, then choose Exit Full Screen from the menu that appears, or click the button .
Use Photo Booth in Split View: Move the pointer to the green button in the top-left corner of the Photo Booth window, then choose Tile Window to Left of Screen or Tile Window to Right of Screen from the menu that appears. To leave the Split View, click its window.
Use Shift-Command-5
If you're using macOS Mojave or later, press Shift-Command (⌘)-5 on your keyboard to see onscreen controls for recording the entire screen, recording a selected portion of the screen, or capturing a still image of your screen. You can also record the screen with QuickTime Player instead.
Record the entire screen

- Click in the onscreen controls. Your pointer changes to a camera .
- Click any screen to start recording that screen, or click Record in the onscreen controls.
- To stop recording, click in the menu bar. Or press Command-Control-Esc (Escape).
- Use the thumbnail to trim, share, save, or take other actions.
Record a selected portion of the screen
Record Video On Mac Screen
- Click in the onscreen controls.
- Drag to select an area of the screen to record. To move the entire selection, drag from within the selection.
- To start recording, click Record in the onscreen controls.
- To stop recording, click in the menu bar. Or press Command-Control-Esc (Escape).
- Use the thumbnail to trim, share, save, or take other actions.
Trim, share, and save
After you stop recording, a thumbnail of the video appears briefly in the lower-right corner of your screen.
Record Video From Mac App Download
- Take no action or swipe the thumbnail to the right and the recording is automatically saved.
- Click the thumbnail to open the recording. You can then click to trim the recording, or click to share it.
- Drag the thumbnail to move the recording to another location, such as to a document, an email, a Finder window, or the Trash.
- Control-click the thumbnail for more options. For example, you can change the save location, open the recording in an app, or delete the recording without saving it.
Change the settings
Click Options in the onscreen controls to change these settings:
- Save to: Choose where your recordings are automatically saved, such as Desktop, Documents, or Clipboard.
- Timer: Choose when to begin recording: immediately, 5 seconds, or 10 seconds after you click to record.
- Microphone: To record your voice or other audio along with your recording, choose a microphone.
- Show Floating Thumbnail: Choose whether to show the thumbnail.
- Remember Last Selection: Choose whether to default to the selections you made the last time you used this tool.
- Show Mouse Clicks: Choose whether to show a black circle around your pointer when you click in the recording.
Use QuickTime Player
Screen Recording App For Mac
- Open QuickTime Player from your Applications folder, then choose File > New Screen Recording from the menu bar. You will then see either the onscreen controls described above or the Screen Recording window described in the following steps.
- Before starting your recording, you can click the arrow next to to change the recording settings:
- To record your voice or other audio with the screen recording, choose a microphone. To monitor that audio during recording, adjust the volume slider (if you get audio feedback, lower the volume or use headphones with a microphone).
- To show a black circle around your pointer when you click, choose Show Mouse Clicks in Recording.
- To record your voice or other audio with the screen recording, choose a microphone. To monitor that audio during recording, adjust the volume slider (if you get audio feedback, lower the volume or use headphones with a microphone).
- To start recording, click and then take one of these actions:
- Click anywhere on the screen to begin recording the entire screen.
- Or drag to select an area to record, then click Start Recording within that area.
- To stop recording, click in the menu bar, or press Command-Control-Esc (Escape).
- After you stop recording, QuickTime Player automatically opens the recording. You can now play, edit, or share the recording.
Learn more
- When saving your recording automatically, your Mac uses the name ”Screen Recording date at time.mov”.
- To cancel making a recording, press the Esc key before clicking to record.
- You can open screen recordings with QuickTime Player, iMovie, and other apps that can edit or view videos.
- Some apps, such as DVD Player, might not let you record their windows.
- Learn how to record the screen on your iPhone, iPad, or iPod touch.